

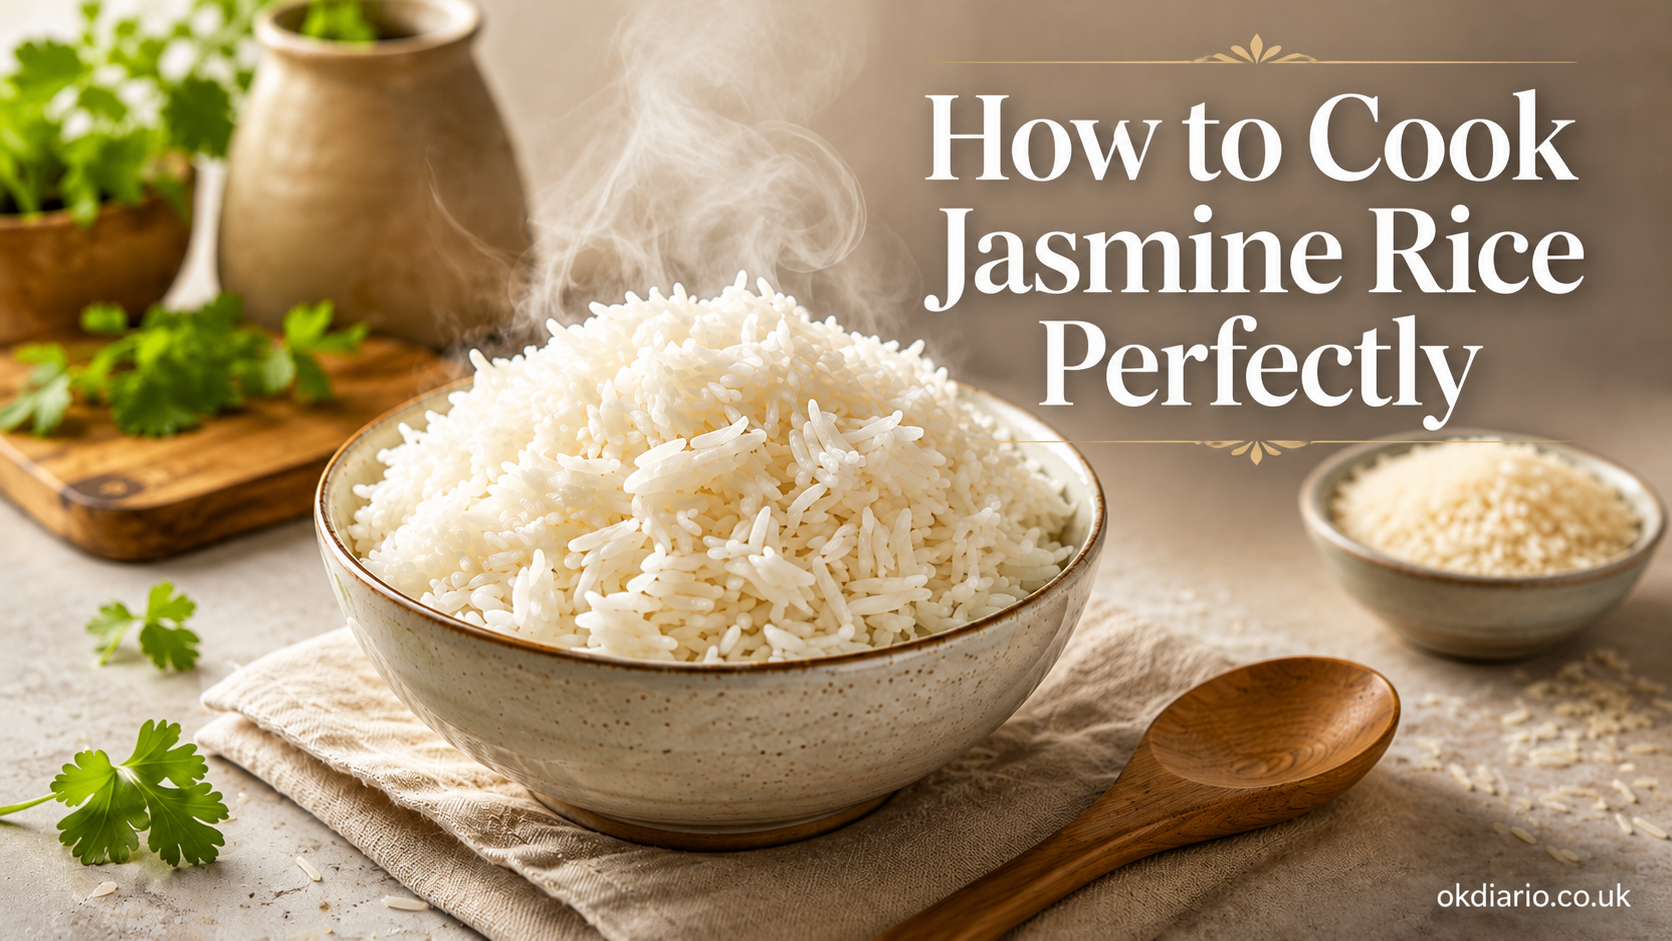
There is a big difference between rice that is merely cooked and rice that makes the whole meal feel complete. The best bowl is soft without being soggy, lightly fragrant, and fluffy enough for the grains to separate when you lift them with a fork. Achieving that texture is not difficult, but it does depend on a few small details.
Jasmine Rice is especially rewarding when it is cooked carefully. Its natural aroma and slightly tender texture work beautifully with curries, stir-fries, grilled dishes, soups, and simple vegetables. However, using too much water, lifting the lid too often, or skipping the resting period can quickly turn an easy side dish into a sticky or uneven batch.
This guide explains the complete process, from rinsing and measuring to simmering, resting, storing, and reheating. It also covers common mistakes and practical adjustments, so you can get dependable results even when brands, pans, and stovetops behave differently.
Why Jasmine Rice Needs a Specific Cooking Method
This fragrant long-grain variety is commonly associated with Southeast Asian cooking, particularly Thai cuisine. The grains are longer than many everyday white-rice varieties, but their cooked texture is naturally softer and slightly more cohesive than basmati rice.
That distinction matters. A method designed for very dry, separate grains may leave fragrant rice firmer than expected, while a method intended for short-grain rice may make it overly wet. The goal is a gentle balance: enough moisture to soften every grain, but not so much that water remains in the pan after cooking.
Freshness, processing, storage conditions, and even the width of your saucepan can affect the final result. For that reason, a good recipe should provide a reliable starting point while leaving room for small adjustments.
The Best Water Ratio for Fluffy Results
For most stovetop batches, a useful starting ratio is:
| Uncooked rice | Water | Approximate cooked yield |
|---|---|---|
| 1 cup | 1¼ cups | About 3 cups |
| 1½ cups | 1⅞ cups | About 4½ cups |
| 2 cups | 2½ cups | About 6 cups |
| 3 cups | 3¾ cups | About 9 cups |
These measurements work best when the rice has been rinsed and drained well. A little water remains on rinsed grains, which contributes to the total moisture in the pot.
Package instructions should still be checked because some products are milled, aged, or processed differently. If a specific brand recommends a noticeably different ratio, test its instructions first and make a note of the result. Once you know how that brand behaves in your kitchen, future batches become much easier.
When to Adjust the Water
Use slightly less water when:
- The previous batch was too soft or wet.
- Your saucepan has a tight lid that releases very little steam.
- You are cooking a small amount in a narrow pot.
- The rice was soaked before cooking.
Use a little more water when:
- The grains remained hard in the center.
- Your lid allows a noticeable amount of steam to escape.
- You are cooking at high altitude.
- The rice has been stored for a long time and seems unusually dry.
Adjust gradually. Changing the water by one or two tablespoons per cup is usually more useful than making a dramatic change.
Ingredients and Equipment
For a dependable basic batch, you need:
- 1 cup fragrant long-grain white rice
- 1¼ cups water
- ¼ teaspoon salt, optional
- 1 teaspoon oil or butter, optional
A medium saucepan with a heavy base and a well-fitting lid is ideal. A heavy pan distributes heat more evenly and lowers the chance of scorching. A transparent lid can be helpful because it lets you check the simmer without opening the pot.
Salt is optional. Oil or butter can add flavor and may help reduce foaming, but neither is required for successful cooking.
How to Cook Jasmine Rice on the Stovetop
Cooking Jasmine Rice well is mostly about controlling moisture and steam. Follow these steps in order rather than relying only on the clock.
1. Measure the Rice Accurately
Use the same measuring cup for both the grains and the water. Level the cup rather than packing it tightly or leaving it heaped.
Consistency matters more than the type of cup. A standard kitchen cup is convenient, but a rice-cooker cup also works as long as it is used for both measurements.
2. Rinse Gently
Place the rice in a bowl or fine-mesh strainer. Rinse it under cool water, moving the grains gently with your fingers. Drain and repeat until the water becomes less cloudy.
The water does not need to become perfectly clear. Two or three rinses are usually enough to remove loose surface starch and any fine powder from handling. Excessive washing can waste water and may damage the grains if they are rubbed aggressively.
Drain thoroughly before transferring the rice to the saucepan.
3. Add Water and Optional Seasoning
Add the measured water, salt, and oil or butter. Give the mixture one gentle stir so the grains settle evenly.
Avoid repeated stirring once heating begins. Stirring releases more starch and encourages a stickier texture.
4. Bring the Pot to a Controlled Boil
Set the uncovered saucepan over medium-high heat. Watch for bubbles across the surface rather than only around the edges.
As soon as the water reaches a steady boil, reduce the heat to its lowest setting and cover the pan immediately. Leaving it at a hard boil for too long can cause uneven absorption or a scorched bottom.
5. Simmer Without Lifting the Lid
Cook over very low heat for about 12 minutes. The exact time may vary slightly with the pan, burner, and quantity.
Do not lift the lid during this stage. The trapped steam is part of the cooking process. Opening the pan releases heat and moisture, which can leave the top layer undercooked.
If your burner remains very hot even at its lowest setting, move the pan to a smaller burner or use a heat diffuser.
6. Turn Off the Heat and Let It Rest
After about 12 minutes, remove the saucepan from the heat but keep the lid closed. Let it stand for 10 minutes.
This resting period is essential. Remaining moisture redistributes through the pot, and the grains finish steaming gently. Serving immediately after simmering often produces rice that seems wetter at the bottom and firmer at the top.
7. Fluff and Serve
Open the lid and use a fork, rice paddle, or silicone spatula to lift and separate the grains. Work gently from the edges toward the center.
Avoid crushing or vigorously mixing the rice. Serve it soon after fluffing for the best aroma and texture.
A Quick Cooking Summary
| Stage | Recommended approach | Why it matters |
|---|---|---|
| Rinsing | Rinse two or three times | Removes loose surface starch |
| Water ratio | Start with 1¼ cups water per cup | Supports a soft but fluffy texture |
| Boiling | Bring to a steady boil | Starts absorption evenly |
| Simmering | Cover and cook on very low heat | Preserves steam and prevents scorching |
| Resting | Leave covered for 10 minutes | Redistributes moisture |
| Fluffing | Lift gently with a fork or paddle | Separates grains without crushing them |
How to Use a Rice Cooker
A rice cooker is often the easiest option for regular meal preparation because it controls heat automatically.
Rinse and drain the grains, then add them to the inner pot. Use the water line or ratio recommended by the manufacturer, especially if the appliance uses its own measuring cup. Select the white-rice or regular setting and let the machine complete the cycle.
When the cooker switches to warm mode, leave the lid closed for another 10 minutes before fluffing. That short rest improves the texture just as it does on the stovetop.
If the result is repeatedly too wet, reduce the water slightly the next time. If it is dry or firm, add a small amount more. Rice cookers vary, so one test batch is often necessary.
How to Make It in an Electric Pressure Cooker
Pressure cooking uses very little evaporation, so it normally requires less water than stovetop cooking.
For one cup of rinsed and well-drained rice, start with one cup of water. Cook at high pressure for about three minutes, followed by a natural pressure release of approximately 10 minutes. Release any remaining pressure carefully, then fluff.
Models differ in heating strength and minimum liquid requirements. Always follow the appliance manual when its directions conflict with a general recipe.
Should You Soak the Rice First?
Soaking is optional for white fragrant rice. A 15-to-20-minute soak may shorten cooking slightly and create a softer texture, but it is not necessary for an everyday batch.
If you soak it, drain it thoroughly and reduce the cooking water by a few tablespoons per cup. Using the full amount after soaking can produce a mushy result.
For most home cooks, rinsing without soaking is the simplest and most repeatable method.
Common Mistakes and How to Fix Them
Even a familiar recipe can go wrong occasionally. The texture usually reveals what happened.
The Rice Is Mushy
Too much water is the most common cause. It can also happen when the rice is stirred repeatedly or left sitting in excess steam for a long time.
Next time, reduce the water by one or two tablespoons per cup. For the current batch, spread it gently on a wide plate or baking sheet for several minutes so excess steam can escape.
The Grains Are Hard in the Center
The pot may not have contained enough water, or too much steam may have escaped through a loose lid.
Sprinkle one or two tablespoons of hot water over the rice, cover the pan, and warm it over very low heat for a few minutes. Turn off the heat and rest it again before checking.
The Bottom Is Burned
The burner was probably too hot, the pan was too thin, or the pot remained over heat after the water had been absorbed.
Do not scrape the burned layer into the good rice. Transfer the unburned portion to a clean bowl. For future batches, use the smallest burner, a heavier pan, or a heat diffuser.
The Rice Is Too Sticky
Some gentle clinging is normal for this variety. However, an unusually gluey texture often comes from excess water, vigorous stirring, or failing to rinse away loose starch.
Rinse gently, drain thoroughly, and leave the grains undisturbed while they simmer.
The Top Is Dry but the Bottom Is Wet
This usually means the heat was too high or the resting period was skipped. High heat drives water downward too quickly, while resting allows moisture to move more evenly through the pot.
Use lower heat and keep the lid closed for the full 10-minute rest.
Flavor Variations That Keep the Method Simple
Once the basic technique is reliable, small additions can change the character of the meal.
Coconut-Style Rice
Replace part of the water with unsweetened coconut milk. Because coconut milk contains fat and solids, avoid using it as the only liquid unless you are following a tested recipe. A mixture of coconut milk and water gives a rich flavor without becoming too heavy.
Broth-Cooked Rice
Use low-sodium vegetable or chicken broth in place of water. Taste the broth before adding salt because packaged stocks can already be strongly seasoned.
Lime and Herb Rice
After cooking, fold in finely grated lime zest, chopped coriander, parsley, or spring onion. Add delicate herbs after the resting period so their flavor remains fresh.
Garlic Rice
Warm a small amount of oil in the saucepan and cook minced garlic briefly before adding the rinsed grains and water. Keep the heat moderate so the garlic does not burn.
Turmeric Rice
Add a small pinch of ground turmeric before cooking. It provides a golden color and an earthy note. Start with a modest amount because too much can dominate the delicate aroma.
What to Serve With It
The mild fragrance makes this rice flexible enough for both strongly seasoned dishes and simple meals.
It pairs particularly well with:
- Thai green or red curry
- Stir-fried vegetables
- Grilled chicken, fish, tofu, or prawns
- Lentil and chickpea dishes
- Teriyaki-style meals
- Roasted vegetables
- Steamed greens
- Spicy soups and stews
- Fried eggs with chilli oil
- Fresh cucumber or herb salads
For a balanced plate, combine a sensible rice portion with vegetables and a source of protein. Saucy dishes are especially suitable because the grains absorb flavor without competing with the main ingredients.
Nutrition and Dietary Considerations
White fragrant rice is primarily a source of carbohydrates and provides energy for meals. It is naturally low in fat before butter, oil, coconut milk, or rich sauces are added.
Plain rice does not naturally contain gluten. People with coeliac disease or a strong gluten sensitivity should still check packaging and preparation conditions for cross-contact, particularly with flavored mixes or shared bulk bins.
White varieties generally contain less fiber than brown rice because the bran and germ have been removed. Brown jasmine-style products retain more of the whole grain but require more water and a longer cooking time.
Nutrition values vary by brand, serving size, enrichment, and preparation method. The package label is the most appropriate reference when exact calories, carbohydrate, protein, or sodium values are needed.
How to Store Cooked Rice Safely
Cooked rice should not remain at room temperature for long periods. Refrigerate leftovers within two hours of cooking, or within one hour when the surrounding temperature is above 90°F or 32°C.
Transfer larger batches to shallow containers so they cool more quickly. Keep the refrigerator at 40°F or 4°C or below, and use refrigerated leftovers within three to four days.
For longer storage, freeze cooled portions in airtight containers or freezer-safe bags. Flattening the bags makes them easier to stack and helps the rice thaw more evenly.
Do not rely only on smell or appearance to judge food safety. When storage conditions are uncertain, discarding the food is the safer choice.
The Best Way to Reheat Leftovers
Add a small splash of water before reheating. The extra moisture creates steam and restores softness.
For a microwave, place the rice in a microwave-safe bowl, sprinkle it with water, and cover loosely. Heat until thoroughly hot, stirring or fluffing midway when reheating a large portion.
For a saucepan, add a tablespoon or two of water, cover, and warm over low heat. Stir gently once the steam begins to build.
Leftovers should be reheated to 165°F or 74°C. Reheat only the amount you plan to eat, as repeated cycles of cooling and warming reduce quality and complicate safe handling.
Frequently Asked Questions
Is Jasmine Rice supposed to be sticky?
It is naturally softer and slightly more cohesive than basmati rice, so a small amount of clinging is normal. It should not, however, resemble a wet paste. Proper rinsing, controlled water, and gentle fluffing produce tender grains with light separation.
Do I need to rinse it before cooking?
Rinsing is strongly recommended when you want a cleaner, fluffier result. It removes loose starch and fine residue from the grain surface. Two or three gentle rinses are normally enough.
Why does my rice turn out differently with a new brand?
Varieties, milling methods, grain age, moisture levels, and package processing can differ. Begin with the standard method, then adjust the water by one or two tablespoons per cup based on the first result.
Can I cook it without salt or oil?
Yes. Water and rice are the only essential ingredients. Salt, oil, and butter affect flavor or richness but are not required for the grains to cook properly.
Can I double the recipe?
Yes, provided the saucepan is large enough to prevent boiling over. Keep the same basic ratio, use low heat, and allow a slightly longer resting period for a large batch. The simmering time may increase by a few minutes.
Is brown fragrant rice cooked the same way?
No. Brown rice retains its bran layer and usually needs more water and a longer cooking time. Follow the package instructions or a recipe specifically designed for the brown variety rather than using the white-rice timing.
How can I stop rice from sticking to the pan?
Use a heavy-bottomed saucepan, reduce the heat as soon as the water boils, and avoid leaving the pot over a hot burner after cooking. A small amount of oil can help, but careful heat control makes the biggest difference.
Conclusion
Perfect rice is less about complicated technique and more about a reliable sequence. Measure carefully, rinse gently, use a sensible water ratio, lower the heat promptly, keep the lid closed, and allow enough time for resting.
The first batch with a new brand or pan may require a minor adjustment, but that is normal. Note whether the result needs a tablespoon more or less water, and the next batch will be easier.
With this method, Jasmine Rice becomes a dependable foundation for quick lunches, family dinners, meal-prep bowls, curries, grilled dishes, and countless everyday combinations. Once the timing and ratio are matched to your kitchen, fluffy and fragrant results become routine rather than accidental.